How Photographers Edit Photos?
For first-timers, the thought of diving into editing software might be somewhat daunting. If you are unable to learn how to use this technology, what choices do you have? What if it's not easy enough to follow the directions? Is there a plan if it takes an excessive period of time? Can you imagine the horror if the opposite turns out to be true and the photographs turn out horrifying?
When a photographer uses post-shoot editing software like Photoshop and Lightroom, authenticity and talent are sometimes called into question. It's common for people to use the terms "post-processing" and "image manipulation" interchangeably when talking about digital photography editing. Both of those expressions mean something different.
When an image is manipulated, it is changed, sometimes dishonestly. Images captured by digital cameras often look unrealistic until they are adjusted and corrected in post-production. Photographs can be altered if the photographer so chooses. Edited pictures? True. If you're serious about photography, you absolutely must. Only half of making a great photograph is pressing the shutter button. The process of photo editing involves making changes, fixing flaws, and enhancing photographs.
Image editing encompasses a wide variety of techniques, from simple tonal and colour adjustments to complex retouching and special effects. It is the former that you will spend most of your time editing as a photographer. Complex modifications are sometimes required. In the event that they are too swamped to edit their own images, photographers often turn to professional services.
Image manipulation software has been around for quite some time. It was around when film cameras were in use. Darkroom techniques allowed photographers to transform undeveloped film into stunning final products. From waiting for film to develop to distorting images with coloured gels or prisms.
If you need advice on your wedding photography, check out our photography packages and services at Wild Romantic Photography.
To some extent, even deciding which film to shoot on can be thought of as a type of photo editing. The film stock makes a huge difference in the final image quality. To name only a few examples, there are some that increase colour saturation, those that turn everything monochrome, and others that create images with extreme contrast or negligible detail. Your final product's visual style is entirely up to the stock film you employ.
Why edit photos?
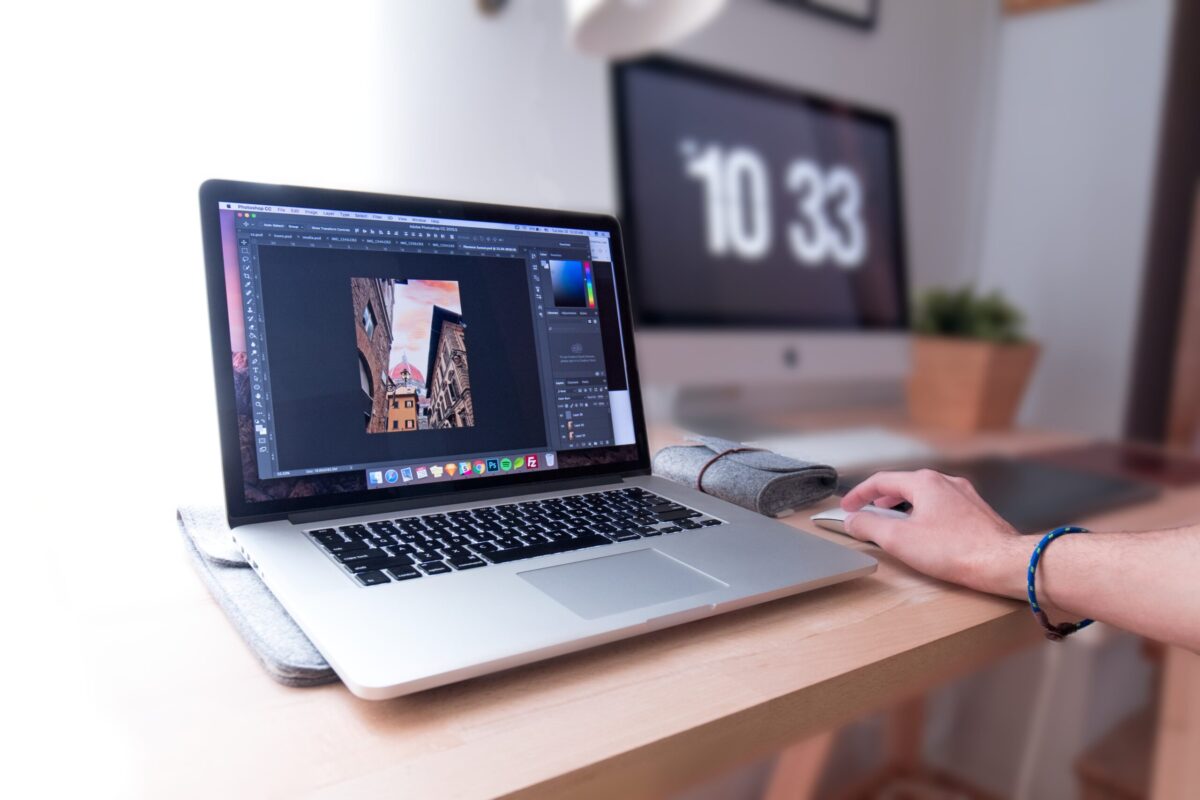
Photo editing is becoming an integral aspect of being a professional photographer. Using photo editing software, you may tweak elements of your photos, such as exposure, white balance, and colour, to make them even more impressive.
In addition, you may help keep your photo files to a manageable size by altering them. If you want people to visit your photography website or your social media pages, this is crucial. If you reduce the size of the photos you upload to your WordPress sites, they will load faster. This will boost your site's rankings in the search engines. In addition, you'll save time and get better results when uploading smaller image files to your social network profiles.
The ideal practise for creating images is to do as much as possible "in-camera." This involves composing the shot so that it closely matches your expectations before you even consider opening the image in Photoshop. You need to take the picture before you can edit it in Photoshop.
After all, you'll get back a considerable amount of time that you'd have spent in front of the computer if you didn't. It also produces a spotless and high-quality final product.
Poor lighting, for example, can drive a photographer to make choices that they know they will need to remedy in post-production, but which are nonetheless impossible to achieve in-camera.
Some creative and artistic changes may be impossible to implement until the final stage of post-production. It goes without saying that you need to grasp photography essentials like depth of field, composition, framing, and focus, but other things, like achieving an artificial saturation or melding two separate objects into one, require more advanced editing techniques after the photo has been taken.
In addition to expanding on the creative potential of a shot, there are a handful of other reasons why a photographer would opt to edit their images.
As a result, altering your own photos is a win-win circumstance.
Having an intuitive and easy-to-use photo editing software can help you save time on photo editing while taking your images to the next level. Check out our range of wedding photography for your wedding day.
Basic Photo Editing for Beginners
To properly grasp the aforementioned concepts and edits accordingly, RAW format shooting is a necessity. Choosing JPEG as the image format means you're okay with the camera making colour changes and discarding any extra pixels it deems unnecessary.
Working with a JPEG image reduces your degree of freedom, forces you to deal with severe loss and compression of pixels from the outset, and compromises the image's original colour scheme.
If you're shooting in JPEG, you don't need to be a professional photographer with years of experience to obtain the results you want.
Second, the sort of camera you employ will have an impact on the quality of the raw data you receive.
With a full-frame camera, you get a 35mm sensor, which means more light enters the camera, more space is available for the pixels, and the sensors are broader and larger in general. What you get is quite similar to what you see through the lens. A crop-sensor, on the other hand, functions in the complete opposite way.
A 35 mm lens fitted on a camera with a crop sensor will only offer you with the field of view that is similar to a 52 mm lens because the lens only allows you to use a portion of the sensor. The resulting focus length is longer and more zoomed-in. The breadth, brightness, and number of pixels will all drop.
You've planned the wedding of your dreams, and you don't want to miss a thing! Have no fear, you are in good hands with Wild Romantic Photography.
Let’s dive in!
Crop and Clean Up Your Images
It would be helpful if the pictures were oriented correctly. Even though it's best to pay attention to the level of your horizon before you start shooting, straightening is a simple initial step in the editing process.
It's advisable to crop photographs to fix minor compositional issues like removing clutter from the border or moving the topic slightly within the frame. Cropping pictures can help fix little things like these that throw off the composition.
Clear, defect-free images: The outdoors may be a nasty place, and the grit and grime of nature can find their way onto the lens of your camera and, ultimately, into your photographs. (The number of times you use a lens brush while shooting in the field is a significant factor.)
Spot-removal tools are standard in photo editing software. Several synonyms exist, including "clone stamping" and "spot healing." The photo viewing settings in a programme can be adjusted to focus on a specific section of the picture. Move methodically from one side of the shot to the other until the defect-free image is achieved.
Correct exposure
Finding a happy medium between the three points of the exposure triangle is essential for getting your shot just perfect. More specifically, the values of the aperture, the shutter speed, and the ISO. Finding the sweet spot where all three meet will yield a photo with just the correct amount of exposure. This indicates that neither the highlights nor the shadows have been overexposed, so that the observer can make out all of the finer features in both.
The histogram is a useful tool for checking whether or not the exposure you've set for a shot is accurate during post-processing. Furthermore, most new cameras have an LCD that displays the histogram, so you may look at it right after capturing the image if you'd like to. This is happening increasingly frequently. The overall value distribution in a picture can be graphically represented using a histogram. To rephrase, a histogram is just a visual depiction of the overall value distribution.
If you look at the histogram (the graph in the top right corner of the image below), you can quickly identify if the tonal values on the image are evenly distributed (as indicated by the graph's troughs and crests) or if there is a significant contrast between them.
Incorrect exposure in a photograph can be fixed by editing. Your photo editing software will have exposure controls; if the image is too black, you can raise exposure, and if it's too bright, you can lower it. Some of the highlights that were lost due to overexposure can usually be recovered.
In photography, adjusting the exposure means making the final image exactly as bright or dark as desired. To warn you, "noise," or a mottled pattern, may develop when the brightness is increased. For this reason, proper exposure (a image that is suitably bright) should be achieved at the time the shot is taken, rather than after the fact.
If you look at the histogram, you'll see a tall mountain that's almost touching the right margin, which means it's slightly on the bright side. If the histogram goes off the left and right sides of the window, it means that the highlights and shadows have been clipped, and the photo has both overexposure and underexposure. This is a passable photograph because there is no spillover into the background, but I find the high levels of contrast to be unsettling.
The image on the left below shows an overexposed image with the exposure turned up, and the image on the right shows an underexposed image with the exposure turned down. Wild Romantic Photography has the best range of services of wedding photography Yarra Valley. Check them out here.
White balance
The exposure levels have nothing to do with the white balance. Adjusting the white balance in your editing software helps fix the overall colour tone of your photo if it is unflattering or unnatural. Keep in mind that JPG files capture much less digital data than RAW files, thus your editing options will be much more restricted when working with a JPG.
White balance is the camera setting that adjusts for the differences between the actual light and the ideal white. When the white balance is correct, there shouldn't be any colour casts that alter the colour of white. In presentations, white needs to be as white as it is in reality.
To pick between a warm white and a cool white, simply adjust the white balance sliders. The white shouldn't have a strong blue hue, look excessively frigid, or look too yellow or orange. All of those things look bad. Take a look at the two images below and notice how the one on the left is too cold while the one on the right is too warm.
Contrast
Contrast, the difference between dark and light areas, can be adjusted. At maximum volume, the picture will be incredibly startling, with every tone, regardless of colour, being either extremely dark or extremely light. When it is very small, the image lacks any sense of depth and no features in it stand out. Most of the time, a contrast that falls between the two extremes is not what you want to achieve. However, if you alter the contrast, you can obtain either of those looks.
There doesn't seem to be anything particularly surprising to me about the contrast. Just how dark the blacks are in the shot is the only relevant factor here. We have adjusted our photo as mentioned above, but it still seems very flat. The contrast between the darkest blacks and the brightest whites and other colours has to be tweaked slightly. Be mindful that you shouldn't clip your blacks or whites, or clip too much if you're going for a little more contrast. The curves tab displays a grid with a curved line, which can be used to modify the contrast.
To reiterate, at this point, all that matters is a spotless edit. The above images demonstrate the changes that were made to both the regular profile and the colour profile. For this reason, picking your colour profile before getting started will yield the best results.
Colour Vibrancy and Saturation
After adjusting the white balance, you may boost the colours in your photos by adjusting the saturation and vibrancy. The difference between the two is subtle; as the vibrancy of a colour is raised, the intensity of the colour rises in neutral tones, but remains constant in brighter tones. The saturation slider makes all the colours in the image more intense. Using high contrast and bright colours can give a shot a more dramatic feel.
Noise and Sharpening
If you go to the third tab, which shows two black triangles, you can tweak the image's noise reduction and sharpening. You'll be taken to the settings panel from which you can make the desired changes. Once again, subtle alterations are required.
If you want to get a good sense of how your edits are shaping up, you need to look at your photo in its original, full resolution form.
The image's brightness is proportional to the smoothness of its pixels. It's important not to blur the lines between what you're doing too much and what you're not.
If you make too many extreme changes to your image, you'll either destroy the colour or make it look like there's too much of it. The amount of display of each of the RGB pixels is what gives an image its colour.
Sharpening a photograph makes it look more defined and organised. Numerous apps offer a wide variety of study aids. Prior to anything else, fine-tune the overall sharpness as needed (on a scale from 0 to 100). The optimal starting point for sharpness is 50%, and from there you can increase or decrease it as needed.
Experiment with the editing software's different sharpening options until you find one that you like. If you want your photos to have a more lively and striking appearance, you should consider utilising a tool that provides "clarity" or "structure," which does this by emphasising the edges of the objects in the photos.
Paying close attention to only the right parts of the frame is essential for determining the efficacy of various sharpening methods. For social media posts, having super-fine details isn't all that important, but it will make a big impact if you plan to enlarge and print the image.
An out-of-focus image cannot be brought into focus by sharpening it. The necessary functionality is not present in any editing software. In addition, if you sharpen an image too much, a halo effect will appear around the objects in the frame, which seems artificial.
How to use the photo histogram?
With this visual depiction of a photograph's tonal range, you may adjust the photograph's final exposure settings with greater precision during the editing process. It's not necessary to always check the histogram, but doing so when a photo has a lot of black or a lot of white might be useful.
Many editing programmes conveniently include this information next to the exposure slider, making it easy to reference. When examining a properly exposed shot, you should be able to see a spectrum of tones, from the darkest to the lightest, with the majority of the tones concentrated in the middle.
The goal is not to take photographs with a histogram in them all the time. That depends significantly on how uniformly the lighting is applied to the topic.
On the other hand, if the histogram shows a spike on the left, it means that your shot has a lot of dark areas.
While it's possible to use your eyes to determine exposure while editing, a histogram may be a very useful tool if you make it a practise to check it frequently.
Things to Think About Before You Begin Editing
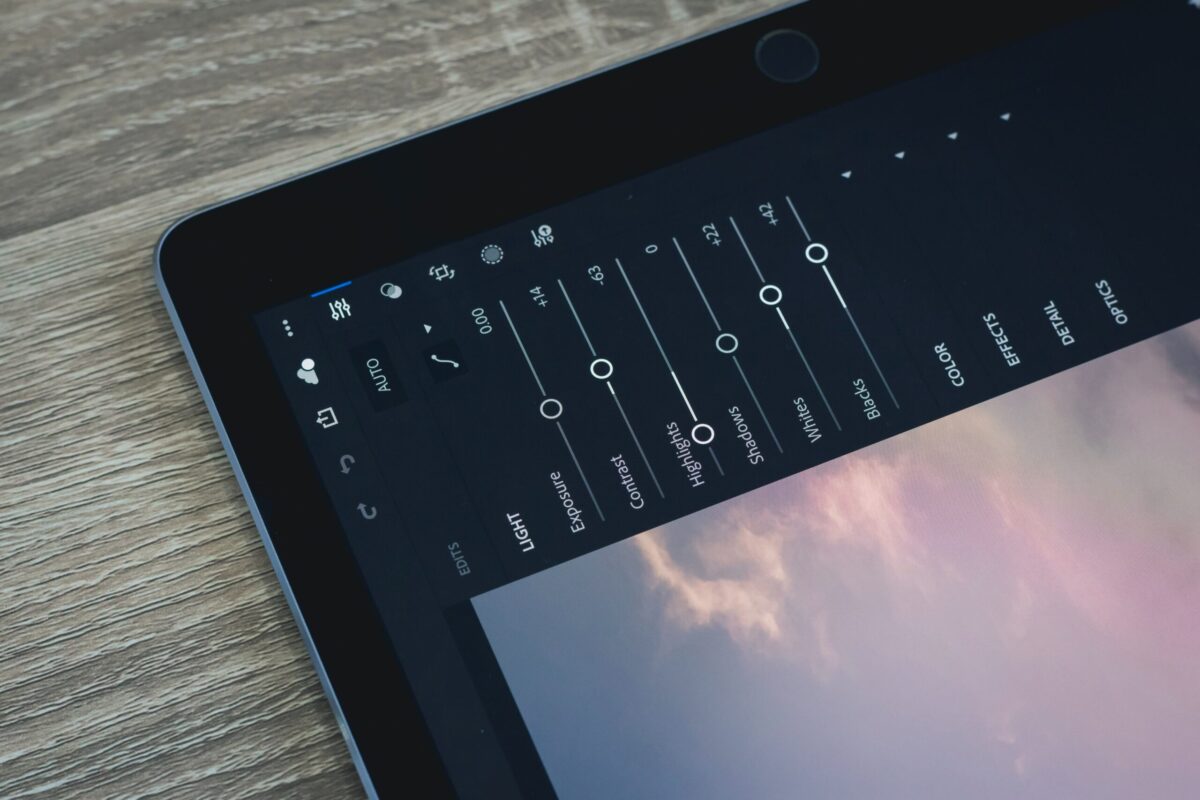
Photo editing programs
There is a plethora of options to choose from, including high-end, expensive professional programmes, low-cost or even free online alternatives, and even basic editing software that may come along with your camera. The decision between a cloud-based (needs recurring payment) and a standalone (non-subscription) version of a more advanced programme is an important one to make before making any purchases (a one-time purchase price).
The latest versions of these programmes can be found on the cloud, and users have the option of storing their pictures there (an added expense). It's also feasible to make changes in the field using a tablet or a mobile version of the software, albeit this does necessitate access to the internet. However, if you look at the whole cost of using the service, subscribing to a service that offers editing capabilities is rarely less expensive than buying the standalone edition of the editing tool.
Looking for a Mornington Peninsula wedding photographer? Look no further! Wild Romantic Photography has you covered.
Understand the difference between “non-destructive” and “destructive” editing
During the editing process, non-destructive editing software will frequently store working versions of your files. Contrarily, some people practise disruptive editing by saving modified versions of photographs over the originals. There is an element of trial and error in editing; if something goes wrong, you'll need to restore the original file. Know if the programme you're using to edit makes duplicates of the originals before you start. If it doesn't, make sure you have backups of any images you plan on modifying before you begin.
Importing and Sorting Photos
The beauty of digital photography is that you can fire off a series of photographs very rapidly, greatly boosting your chances of obtaining a genuinely outstanding image. The first step in editing your photos is going through them after you've imported and sorted them onto your computer to see which ones require fixing.
Now that you know some basic photo editing techniques, you may start to see things differently. The seemingly perfect photos we are exposed to on a daily basis have both inspired and alarmed people.
All we know is this: If you want a perfect image, and you’ve got a vision in your mind of what it should be, then editing can help you get there. If you’d like to work with professional photographers for your wedding, book with us at Wild Romantic Photography.
Best wishes with the shoot and the cut!
Conclusion
If you're serious about photography, you absolutely must learn how to use photo editing software. Images captured by digital cameras often look unrealistic until they are adjusted and corrected in post-production. Image editing encompasses a wide variety of techniques, from simple tonal and colour adjustments to complex retouching and special effects. Using photo editing software, you may tweak elements of your photos to make them even more impressive. If you reduce the size of the photos you upload to your WordPress sites, they will load faster.
You'll save time and get better results when uploading smaller image files to your social network profiles. If you're shooting in JPEG, you don't need to be a professional photographer with years of experience to obtain the results you want. A 35 mm lens fitted on a camera with a crop sensor will only offer you a field of view similar to a 52 mm lens. Spot-removal tools are standard in photo editing software. Incorrect exposure in a photograph can be fixed by editing.
The overall value distribution in a picture can be graphically represented using a histogram. If the histogram goes off the left and right sides of the window, it means the highlights and shadows have been clipped, and the photo has both overexposure and underexposure. White balance is the camera setting that adjusts for the differences between the actual light and the ideal white. When the white balance is correct, there shouldn't be any colour casts that alter the colour of white. The contrast between the darkest blacks and the brightest whites and other colours has to be tweaked slightly.
After adjusting the white balance, you may boost the colours in your photos by adjusting the saturation and vibrancy. The curves tab displays a grid with a curved line, which can be used to modify the contrast. If you want your photos to have a more lively and striking appearance, you should consider utilising a tool that provides "clarity" or "structure". An histogram is a visual depiction of a photograph's tonal range, which allows you to adjust the photograph's final exposure settings with greater precision during the editing process. It's not necessary to always check the histogram, but doing so when a photo has a lot of black or lots of white areas might be useful.
The beauty of digital photography is that you can fire off a series of photographs very rapidly, greatly boosting your chances of obtaining a genuinely outstanding image. The first step in editing your photos is going through them after you've imported and sorted them onto your computer to see which ones require fixing.
Content Summary
- For first-timers, the thought of diving into editing software might be somewhat daunting.
- When a photographer uses post-shoot editing software like Photoshop and Lightroom, authenticity and talent are sometimes called into question.
- The process of photo editing involves making changes, fixing flaws, and enhancing photographs.
- Image editing encompasses a wide variety of techniques, from simple tonal and colour adjustments to complex retouching and special effects.
- Using photo editing software, you may tweak elements of your photos, such as exposure, white balance, and colour, to make them even more impressive.
- Some creative and artistic changes may be impossible to implement until the final stage of post-production.
- Having an intuitive and easy-to-use photo editing software can help you save time on photo editing while taking your images to the next level.
- Working with a JPEG image reduces your degree of freedom, forces you to deal with severe loss and compression of pixels from the outset, and compromises the image's original colour scheme.
- Spot-removal tools are standard in photo editing software.
- Incorrect exposure in a photograph can be fixed by editing.
- Adjusting the white balance in your editing software helps fix the overall colour tone of your photo if it is unflattering or unnatural.
- If you want to get a good sense of how your edits are shaping up, you need to look at your photo in its original, full resolution form.
- Things to Think About Before You Begin Editing Photo editing programs There is a plethora of options to choose from, including high-end, expensive professional programmes, low-cost or even free online alternatives, and even basic editing software that may come along with your camera.